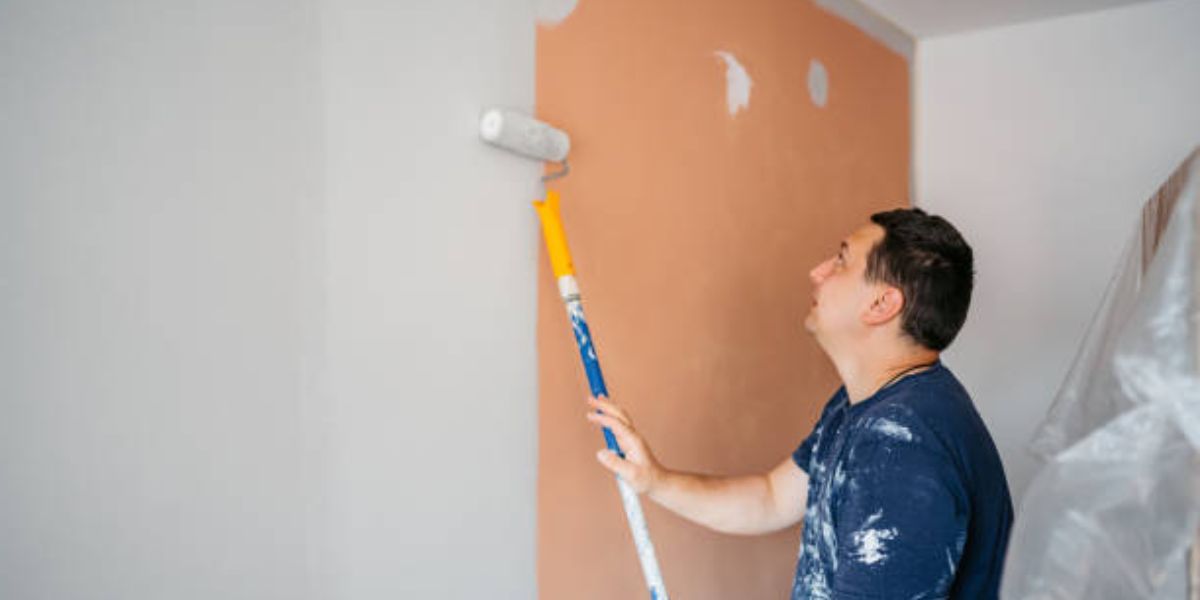
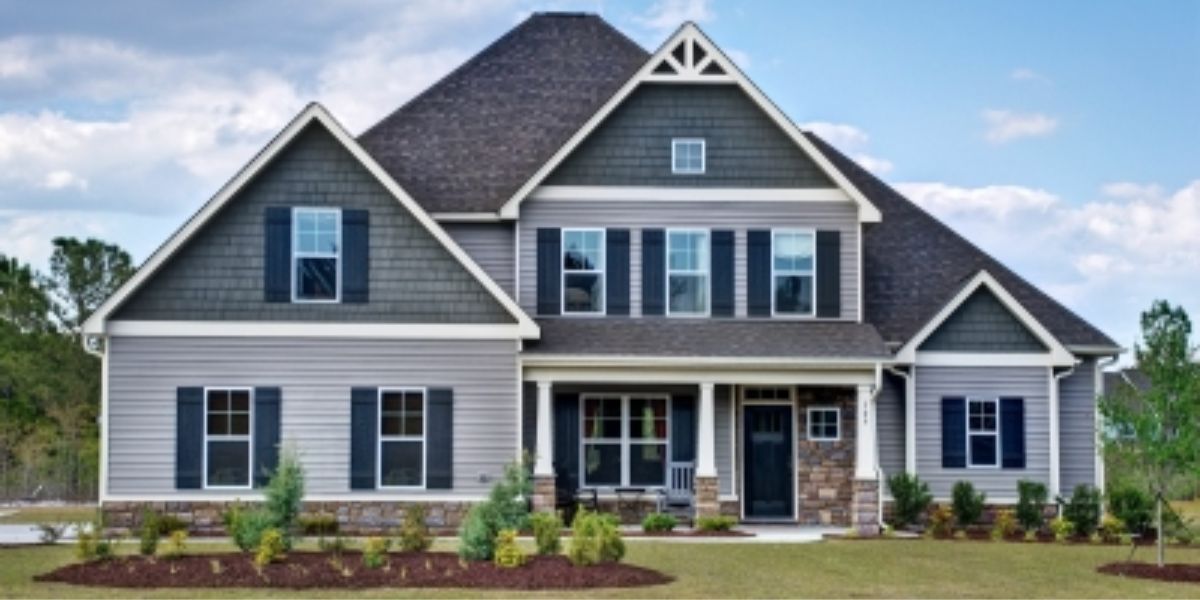
Interior painting is an essential part of home improvement and maintenance in St. Augustine, a city with a rich history and diverse architectural styles. Whether you’re painting the walls of your historic home, a modern apartment, or a commercial property, surface preparation is a crucial step that can dramatically affect the quality and longevity of your paint job.
What is Surface Preparation in Interior Painting?
Surface preparation refers to the process of getting a surface ready to be painted. It includes cleaning, sanding, patching, priming, and other tasks that ensure the paint adheres properly and lasts longer. Proper surface preparation is especially critical in St. Augustine due to the area’s unique climate and historical homes.
Why is Surface Preparation Important?
Surface preparation can make or break an interior painting project. Even the best quality paint will not perform well if the surface is not properly prepared. Here are some reasons why it’s so important:
- Better Adhesion: Clean, smooth, and properly primed surfaces provide a better surface for the paint to bond to, ensuring a longer-lasting finish.
- Prevents Peeling and Cracking: Without surface preparation, the paint may not adhere properly, leading to peeling or cracking over time, which can be costly and frustrating.
- Smooth Finish: By preparing the surface correctly, you ensure a smooth and even coat of paint, which is essential for achieving a professional look.
- Enhances Durability: Proper surface preparation can increase the durability of your paint, making it resistant to chipping, fading, and damage caused by wear and tear.
- Prevents Stains and Molding Issues: Surface prep helps in sealing any cracks and gaps where moisture could enter, preventing mold growth and staining.
- Saves Time and Money in the Long Run: Although surface preparation requires time and effort, it can save you money in the long run by preventing the need for touch-ups or re-painting.
The Challenges of Surface Preparation in St. Augustine
St. Augustine’s coastal climate poses unique challenges when it comes to interior painting. The humidity, salt air, and frequent rain can all contribute to mold, mildew, and moisture damage. Historic homes and buildings also often feature delicate materials, such as old plaster walls, that require extra care during surface preparation.
Moreover, St. Augustine’s old-world charm means that many properties have intricate details like crown moldings, wainscoting, and decorative features that need to be handled carefully during the preparation process.
Steps Involved in Surface Preparation for Interior Painting
Proper surface preparation for interior painting involves several steps, each designed to ensure the surface is clean, smooth, and ready for a fresh coat of paint. Here’s a breakdown of the key steps:
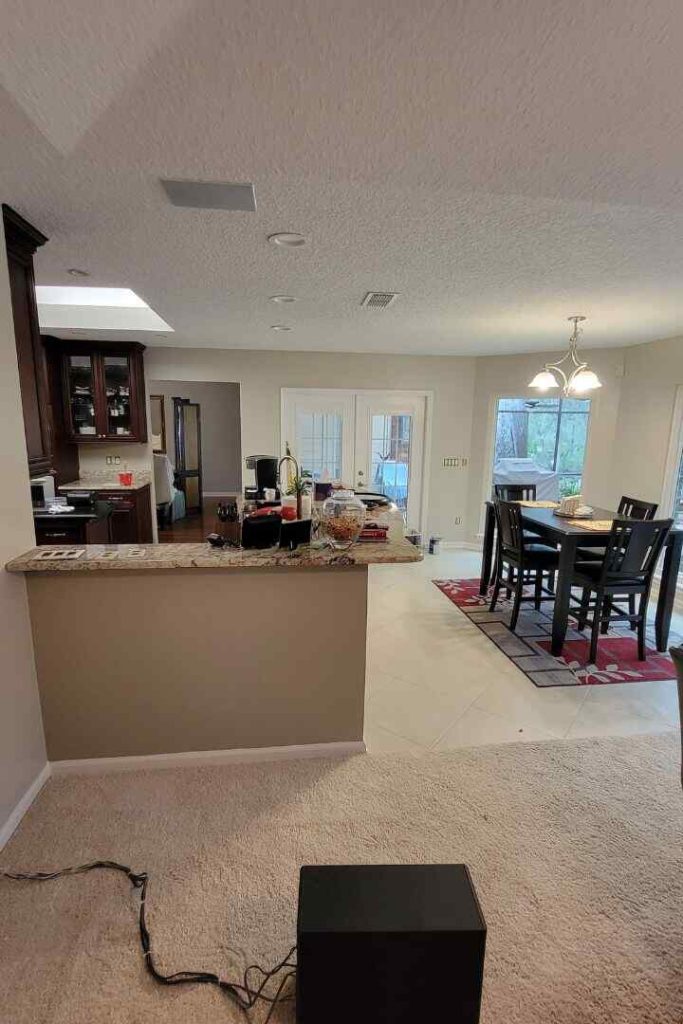
Cleaning the Surface
Before any painting can take place, it’s important to clean the surface to remove dirt, grease, dust, and other debris. This step is crucial as even small particles can affect the paint’s adhesion.
In St. Augustine, this cleaning process is especially important due to the presence of salt and moisture in the air, which can cause dust and grime to accumulate more quickly. Use a mild detergent and water to clean the walls, or for more stubborn stains, consider a stronger cleaner. For mold or mildew, use a mixture of water and bleach, or a mold-killing product to disinfect the surface.
Repairing Any Damage
Next, inspect the surface for any cracks, holes, or damage. This is particularly important in older homes in St. Augustine, where plaster or drywall may have aged. Small cracks should be filled with spackle or joint compound, while larger holes may require patching with a more substantial filler. Once the repairs are dry, sand them smooth to ensure the surface is even.
Sanding the Surface
Sanding is a critical step in the surface preparation process. Sanding smooths out rough spots and ensures that the paint adheres well to the surface. For drywall, use fine-grit sandpaper, while for wood, a medium-grit sandpaper will work best. Don’t forget to remove any dust from sanding using a damp cloth or vacuum before moving on to the next step.
Priming the Surface
Priming is an essential part of surface preparation. A good primer will provide a base for the paint to adhere to and will also help to seal any repairs or damaged areas. It also helps cover stains, prevents peeling, and can make your paint job last longer.
In humid areas like St. Augustine, it’s essential to use a mold-resistant primer to help combat moisture-related issues. Depending on the surface type (wood, drywall, or plaster), choose a primer that is formulated to handle that particular material.
Caulking Gaps and Cracks
Caulking is another important step, especially in older homes. In St. Augustine, you may find cracks around windows, door frames, or crown molding. Caulk those gaps to prevent moisture and air from entering and damaging the surface. This will also give the walls a cleaner, more seamless appearance once painted.
Protecting Surrounding Areas
Before starting the actual painting process, it’s crucial to protect your furniture, floors, and trim with drop cloths and painter’s tape. This will ensure that no paint gets onto unintended surfaces and that the work area stays tidy.
Final Inspection
Finally, once all the preparation steps have been completed, do a final inspection of the surface. Look for any missed spots or areas that need additional sanding, patching, or priming. The goal is to ensure the surface is as smooth and clean as possible before you start painting.
Why Surface Preparation is Especially Important for St. Augustine Homes?
St. Augustine has a rich history, and many of its homes date back several decades or even centuries. These historic properties often feature intricate plaster walls, old woodwork, and other delicate materials that require extra care during the preparation process.
Additionally, St. Augustine’s coastal location means that homes are more susceptible to humidity, mold, and salt damage. These issues can impact both the surfaces of the walls and the paint itself, making surface preparation even more critical.
In older homes, improper preparation may cause the paint to peel or crack prematurely, revealing the underlying damage. This can result in costly repairs and restoration efforts. For historic homes in particular, using the right surface preparation techniques helps preserve the beauty and integrity of the property while ensuring a fresh, vibrant paint job.
FAQs About Surface Preparation for Interior Painting in St. Augustine
Why is surface preparation important for painting?
Surface preparation ensures better adhesion, prevents peeling, and provides a smooth, durable finish for your paint.
How long does surface preparation take before painting?
Depending on the size of the area and the surface condition, surface preparation can take anywhere from a few hours to a few days.
What tools are needed for surface preparation?
Basic tools include cleaning supplies, sandpaper or sanding tools, spackle or joint compound, caulk, painter’s tape, drop cloths, and a good primer.
Can I skip surface preparation if the wall is in good condition?
Even in good condition, cleaning and priming the surface is crucial to ensure proper adhesion and a lasting finish.
How do I know if a wall needs priming?
If the wall has stains, repairs, or is made of porous material, it should be primed. If the wall was previously painted with dark colors, priming is also a good idea.
What type of primer should I use for interior painting in St. Augustine?
Use a mold-resistant primer for areas with high humidity. Choose a primer suited for your surface, such as drywall or wood.
Can I use regular household cleaners for surface prep?
Yes, but avoid harsh chemicals that might damage the wall. For heavy mold or mildew, use a specialized cleaner.
How do I repair holes in walls before painting?
Use a spackle or joint compound for small holes. For larger holes, use a wall repair patch and fill it with joint compound.
How long should I wait before painting after priming?
Allow the primer to dry fully, which can take anywhere from 1 to 4 hours, depending on the type of primer used.
Should I sand between coats of paint?
Light sanding between coats helps achieve a smooth, even finish and ensures better adhesion of subsequent coats.
Can I use a pressure washer to clean the walls before painting?
Yes, but use it carefully and avoid too much pressure that can damage the walls, especially in older homes.
Is it necessary to remove furniture during surface preparation?
It’s advisable to move furniture or cover it with drop cloths to protect it from dust and paint splatters.
How do I prevent mold from affecting my interior paint job?
Ensure proper surface cleaning, use mold-resistant primer, and address any moisture issues before painting.
What’s the difference between sanding drywall and sanding wood surfaces?
Drywall requires fine-grit sandpaper for a smooth finish, while wood may need medium-grit sandpaper to smooth out imperfections.
How can I protect trim and moldings during surface preparation?
Use painter’s tape to protect trim, moldings, and other areas from paint splatters.
How do I handle cracking or peeling paint?
Scrape off loose paint, sand the area smooth, and apply a primer before repainting.
Can surface preparation help with uneven paint color?
Yes, proper preparation ensures that the paint goes on evenly and hides any previous discolorations.
What’s the best way to handle old plaster walls in historic homes?
Old plaster should be cleaned, patched, and primed carefully, often requiring a more delicate approach compared to drywall.
Do I need to prep the ceiling before painting?
Yes, ceilings should also be cleaned, repaired, and primed before painting to ensure even coverage.
How can I avoid paint streaks or roller marks?
Proper surface preparation, using the right tools, and applying paint evenly in sections will prevent streaks and roller marks.